Reverse Engineering with Radare2
In this article, we will explore the basics of radare2, a powerful package that comes with Kali. We are going to write a simple program, and then disassemble it, to see what is really doing in the processor.
I will use Kali and x86 (64 bits) instructions. Not all architectures have the same set of instructions (keep in mind), the most important difference is between Reduced Instruction Set Computing (embedded systems, PMDs…) and Complex Instruction Set Computing (clusters, desktop computing…). An example of RISC could be ARM and of CISC x86.
Note: this article requires some basic skills in computing, if you don’t know what is a register or something like that.
Radare2
Radare2 is an open source set of tools for reverse-engineering and analysis of binary files (among other things, for example debugging). In this article we will cover two tools: rasm2 and r2.
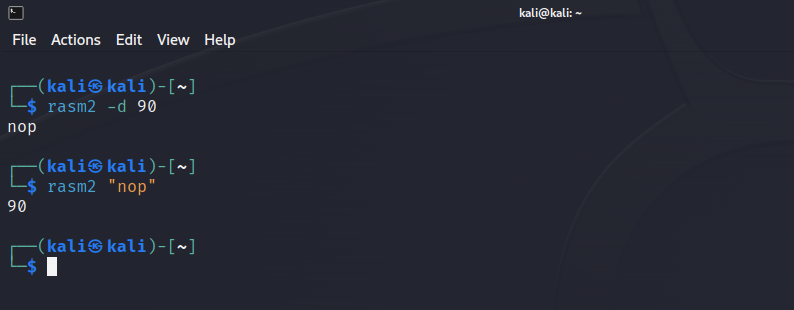
Let’s take a quick look to rasm2. It is used to assemble or disassemble files or hexpair strings. You can see the help screen:
` rasm2 -h `

Look at the first option ` -d ` , disassemble from hexpair bytes. For example, 90 corresponds to a nop operation. To disassemble hexadecimal code, type: ` rasm2 -d
If you want to get the hexadecimal code of an instruction: ` rasm2 “
Writing a Very Simple C Program
Let’s write a simple code that adds two variables. Open a terminal and make a new directory (this is optional, so it does not mix with your files):
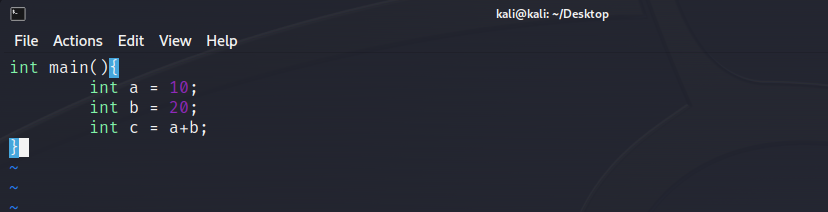
Open VIM and put the code below:
int main(){
    int a = 10;
    int b = 20;
    int c = a+b;
}
` gcc -o test test.c `

Disassembling the Binary
Once we have the binary file (test), let’s disassemble it. Type:
` r2 test ` At this point, analyze the whole code:
` aa (Analyze All) `
Now let’s see the main function:
` pdf @ sym.main ` (Print Disassemble Function)
 As you see, it shows the hexadecimal code and the assembly code.
Examining Assembly Instructions
The first two instructions are called preamble (or prologue):
push rbp (Save the old base pointer in the stack to restore it later) mov rbp, rsp (Copy the stack pointer to the base pointer)
Now the base pointer points to the main frame.
mov dword (rbp-0x4), 0xa (Load 10 into rbp - 4 ) mov dword (rbp-0x8), 0x14 (Load 20 into rbp - 8)
As you would know, the size of an integer in C is 4 bytes (32 bits), that’s the reason why the pointer decrements in 4 (the stack grows downward). The first instruction simply says: load value 10 (0xa) below the base pointer, the second instruction says: load value 20 (0x14) below the previous value. We have pushed the variable values into the stack.
mov eax, (rbp - 0x8) (Load value 20 into eax) mov edx, (rbp - 0x4) (Load value 10 into edx)
Now we load the values into general purpose registers, to perform the ALU operation (add).
add eax, edx (Add eax, edx and store result in eax)
This instruction is like : eax = eax + edx, adds the value of both registers (eax, edx) and store the result into eax.
mov (rbp- 0xc), eax (Load the result into rbp - 12)
Finally we store the sum result below rbp - 8.
pop rbp ret
The last two instructions are called epilogue. We pop the old base pointer off the stack and store it in rbp, then we jump to the return address (which is also in the stack).
So what does the C code? -Puts variables into the stack:
- a is stored with value 10 (0xa) below the base pointer (rbp - 0x4).
- b is stored with value 20 (0x14) below a (rbp - 0x8).
-Perform the ALU operation. -Store the result in c:
- c is stored with value 30 below b (rbp - 0xc).
I’m sure that curious people will write more sophisticated code to see how it’s really working. A final note: The assembly code generated is different depending on the compiler (and system).